
It doesn’t have to be this way, Morrie. There are people who want to care about you, who want to love you. You have so much anger, so much hurt. I get it. But you don’t have to keep living like this. Unclench your fist.
John Whittaker, AR #5: “The Final Problem, Part 2”
The Alternate Rydell Saga (AR) is a different take on the saga of Morrie Rydell from Adventures in Odyssey. After the episode “A Sacrificial Escape,” the Alternate Rydell Saga breaks from the official saga with a different version of “Further from the Truth.” It is a series of five scripts written by Michael LaFaver, the host of AIO Audio News. The first draft of AR #1 was written in 2019, and the following four episodes were written in 2021.
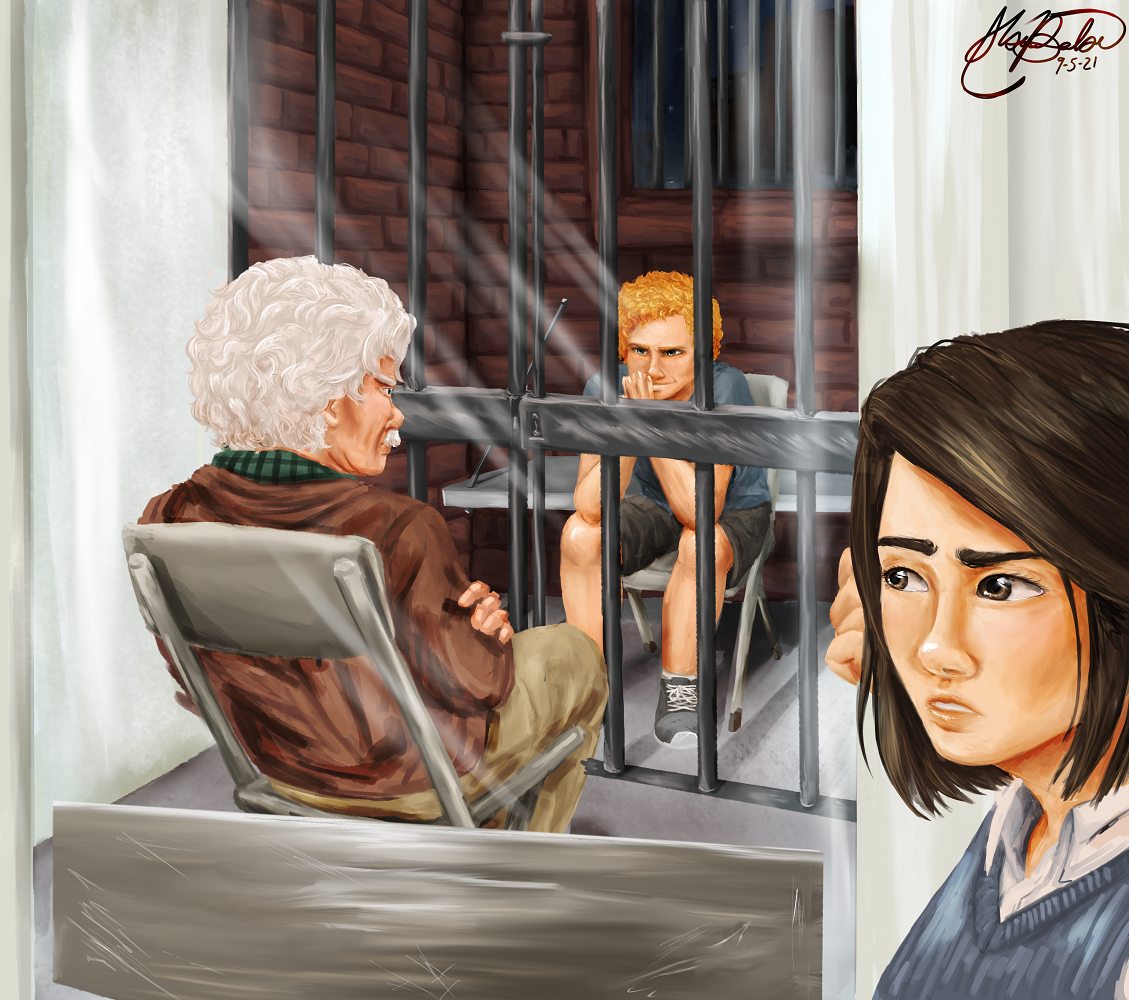
Production began on May 19, 2021 for the five episodes in the series, and after a week-long rewrite, production briefly resumed on May 31 before being shut down by Focus on the Family on June 3. Allie Barrett finished the cover artwork for it on September 5.
Episodes:
- #802: “Parker for President”
- #804: “The Key Suspect”
- #833: “The Secret of the Writer’s Ruse”
- #853: “The Good in People”
- #877: “A Sacrificial Escape”
- AR #1: “Further from the Truth”
Faced with evidence difficult to believe, Whit must make a decision on what to do about Morrie Rydell. Meanwhile, Emily and Matthew bring one final mystery to a startling conclusion.
Story oversight by Ryan Matlock, script assistance by Rachel Strnad - AR #2: “Drama and Conflict”
On a trip to the state capital with the Odyssey Middle School drama club, Suzu finds herself caught in the middle of a plot against Mr. Whittaker.
Story oversight by Ryan Matlock, script assistance by Rachel Strnad - AR #3: “Revelations”
To counter the scheming of Morrie Rydell and his accomplice, Whit, Suzu, and Charlotte tell the full story of what happened years ago.
Story oversight by Ryan Matlock, script assistance by Rachel Strnad - AR #4: “The Final Problem, Part 1”
Whit, Charlotte, and Suzu enact their plan to stop Morrie Rydell once and for all.
- AR #5: “The Final Problem, Part 2”
Whit must make the ultimate sacrifice when all else fails in the plan to thwart Morrie Rydell.
Co-written by Ryan Matlock, story assistance by Chris Nelson
Original cast:
- Peter Fazzari as John Whittaker
- Michael LaFaver as Morrie Rydell
- Trisha Rose as Charlotte Rydell
- Alitheia West as Suzu Rydell
- Darby Kern as Jordan Winword
- Christina Frazell as Emily Jones and Aletheia Kaneko
- Rigby Dehnart as Matthew Parker
- Jonathan Cooke as Don Polehaus and David Parker
- Unique de Krijger as Olivia Parker
- Katie Dehnart as Tasha Forbes
- Wyatt Jackson as Eugene Meltsner
- Allie Barrett as Zoe Grant
- John Tuttle III as Dion Farkus
- Ryan Matlock as Martin
- Alicia Hansen as Eva Parker
- Roy Allison as Simon Jones
- Caleb Parks as Officer Parks
- Boyd Barrett as Wilson Knox
- Rebecca Moritzky as Anya Popov
- Adrianne West as Mrs. Meido
- Chris Nelson as Donovan
- Austin Peachey
- Joshua Prentice
- JD Sutter
I’m a bit late, but I recently read “Revelations” a little while ago. Excellent job on that script! I find it especially impressive how you tied it in to “The Search for Whit”. I do have a few questions.
If I understand correctly, Soren and Morrie hacked into the Whit’s End computers during the escape room fiasco. Morrie copied the contents of the computers onto the disk which Suzu gave Soren in “Drama and Conflict”. One of the things on the disk is a copy of the contents of the disk that Alethia gave Whit. Is that right?
If so, was Tasha’s report also copied onto the disk? I was wondering because in scene 6, Morrie and Soren are talking about “the report”. Where did they read Tasha’s report? The report was also on the disk Suzu handed Soren, correct?
And I assume the next script will show what they did in the basement. 😉
Also, is there a particular reason why Whit didn’t turn in Alethia’s disk to the authorities and kept it for all these years without decoding it? I’d think he would have turned it in immediately.
Overall, I think you are doing a good job so far on this alternate Rydell Saga and I look forward to reading the next script.
You’re on the right track! Nice job! You’re very close with what the contents were, and I while there isn’t too much more of an explanation in “The Final Problem,” you’ve pretty much guessed what I had in mind.
As to why Whit didn’t turn over the disk… eek. I think you just found a plothole. I’ll be sure to fix that.
Oh, actually there’s a simple explanation for that. Whit goes into hiding basically immediately afterward. He says in Revelations that he couldn’t trust anyone. It makes sense that he would keep the disk because he thinks that Alfred or maybe even Tasha sent Aletheia. And years later, he’s probably forgotten the significance of it or thinks it’s been too much time for it to be relevant.
That makes sense, thanks for explaining! Glad I understood everything correctly.
I am now reading part 1 of “The Final Problem”. It’s really good so far!
Amazing art Allie!! Can’t wait to read these!!
Fun fics, nice dialogue going on. Portland is not the capital of Oregon. You made Whit cool again. That is all.
oh also Suzu deserved better from Phil and you gave it to her, it makes me happy
Oh! I didn’t know that about the capital. I’ll fix that.
Look up the capital building if you want a treat, it looks like a prison. Very representative of the Oregon government 🙂
It’s funny, I kind of replaced the original Rydell saga with this in my head.
Haha! I appreciate that 😂
There is one thing that stuck out to me as anachronistic. When Whit gets the data device from Alethia, it’s specifically stated to be a “USB disk”. USB was not ubiquitous in the ’90s, but more importantly, the first USB flash drive was only available in 2000. You can argue that the AIO world is a few years ahead in technology, and you may be right, but Blackgaard gave his minions laptops that used floppy disks in DBD, which is concurrent with the time Whit was at his dig, and it doesn’t seem unreasonable that the doctor would be on the cutting edge of technology.
Good catch. I suppose an easy solution would be to call it a floppy disk instead.
Where did you learn how to write a script? I’d like to do that professionally but idk where to learn.
Ha! I commented a year ago! 🤣 I don’t even remember commenting but my question still stands. Lol
I need this dramatized! Adventures in Odyssey should redo the Morrie arc and use your scripts! I’m not even kidding! This would have been so so good!